

It’s been raining. I guess our party theme is Atlantis, and there’s
going to be a ton of water all around, but we’d kind of like all the water to
come after we’ve built everything. In the meantime, we’ve lost 3
out of 4 good building days out of the last couple weekends. Luckily it
was nice and sunny today, and we got in a solid weekend of work!
Our first task when designing a party is to figure out where the dance floor
is — after all, that’s where the party actually happens! Then, you can
plan all sorts of construction around it. Of course, you need to take the
shape of the courtyard into account when doing all of this. For
reference, here’s what our courtyard looks like with nothing in it:

fantastic property of being curved. That’s great for drainage, since all
of the water will go towards the center and disappear pretty quickly, but it
doesn’t make a great dance floor. So we have to correct this by placing
wooden dance floor platforms everywhere people will be walking, and level them
out so that we aren’t walking on an incline.
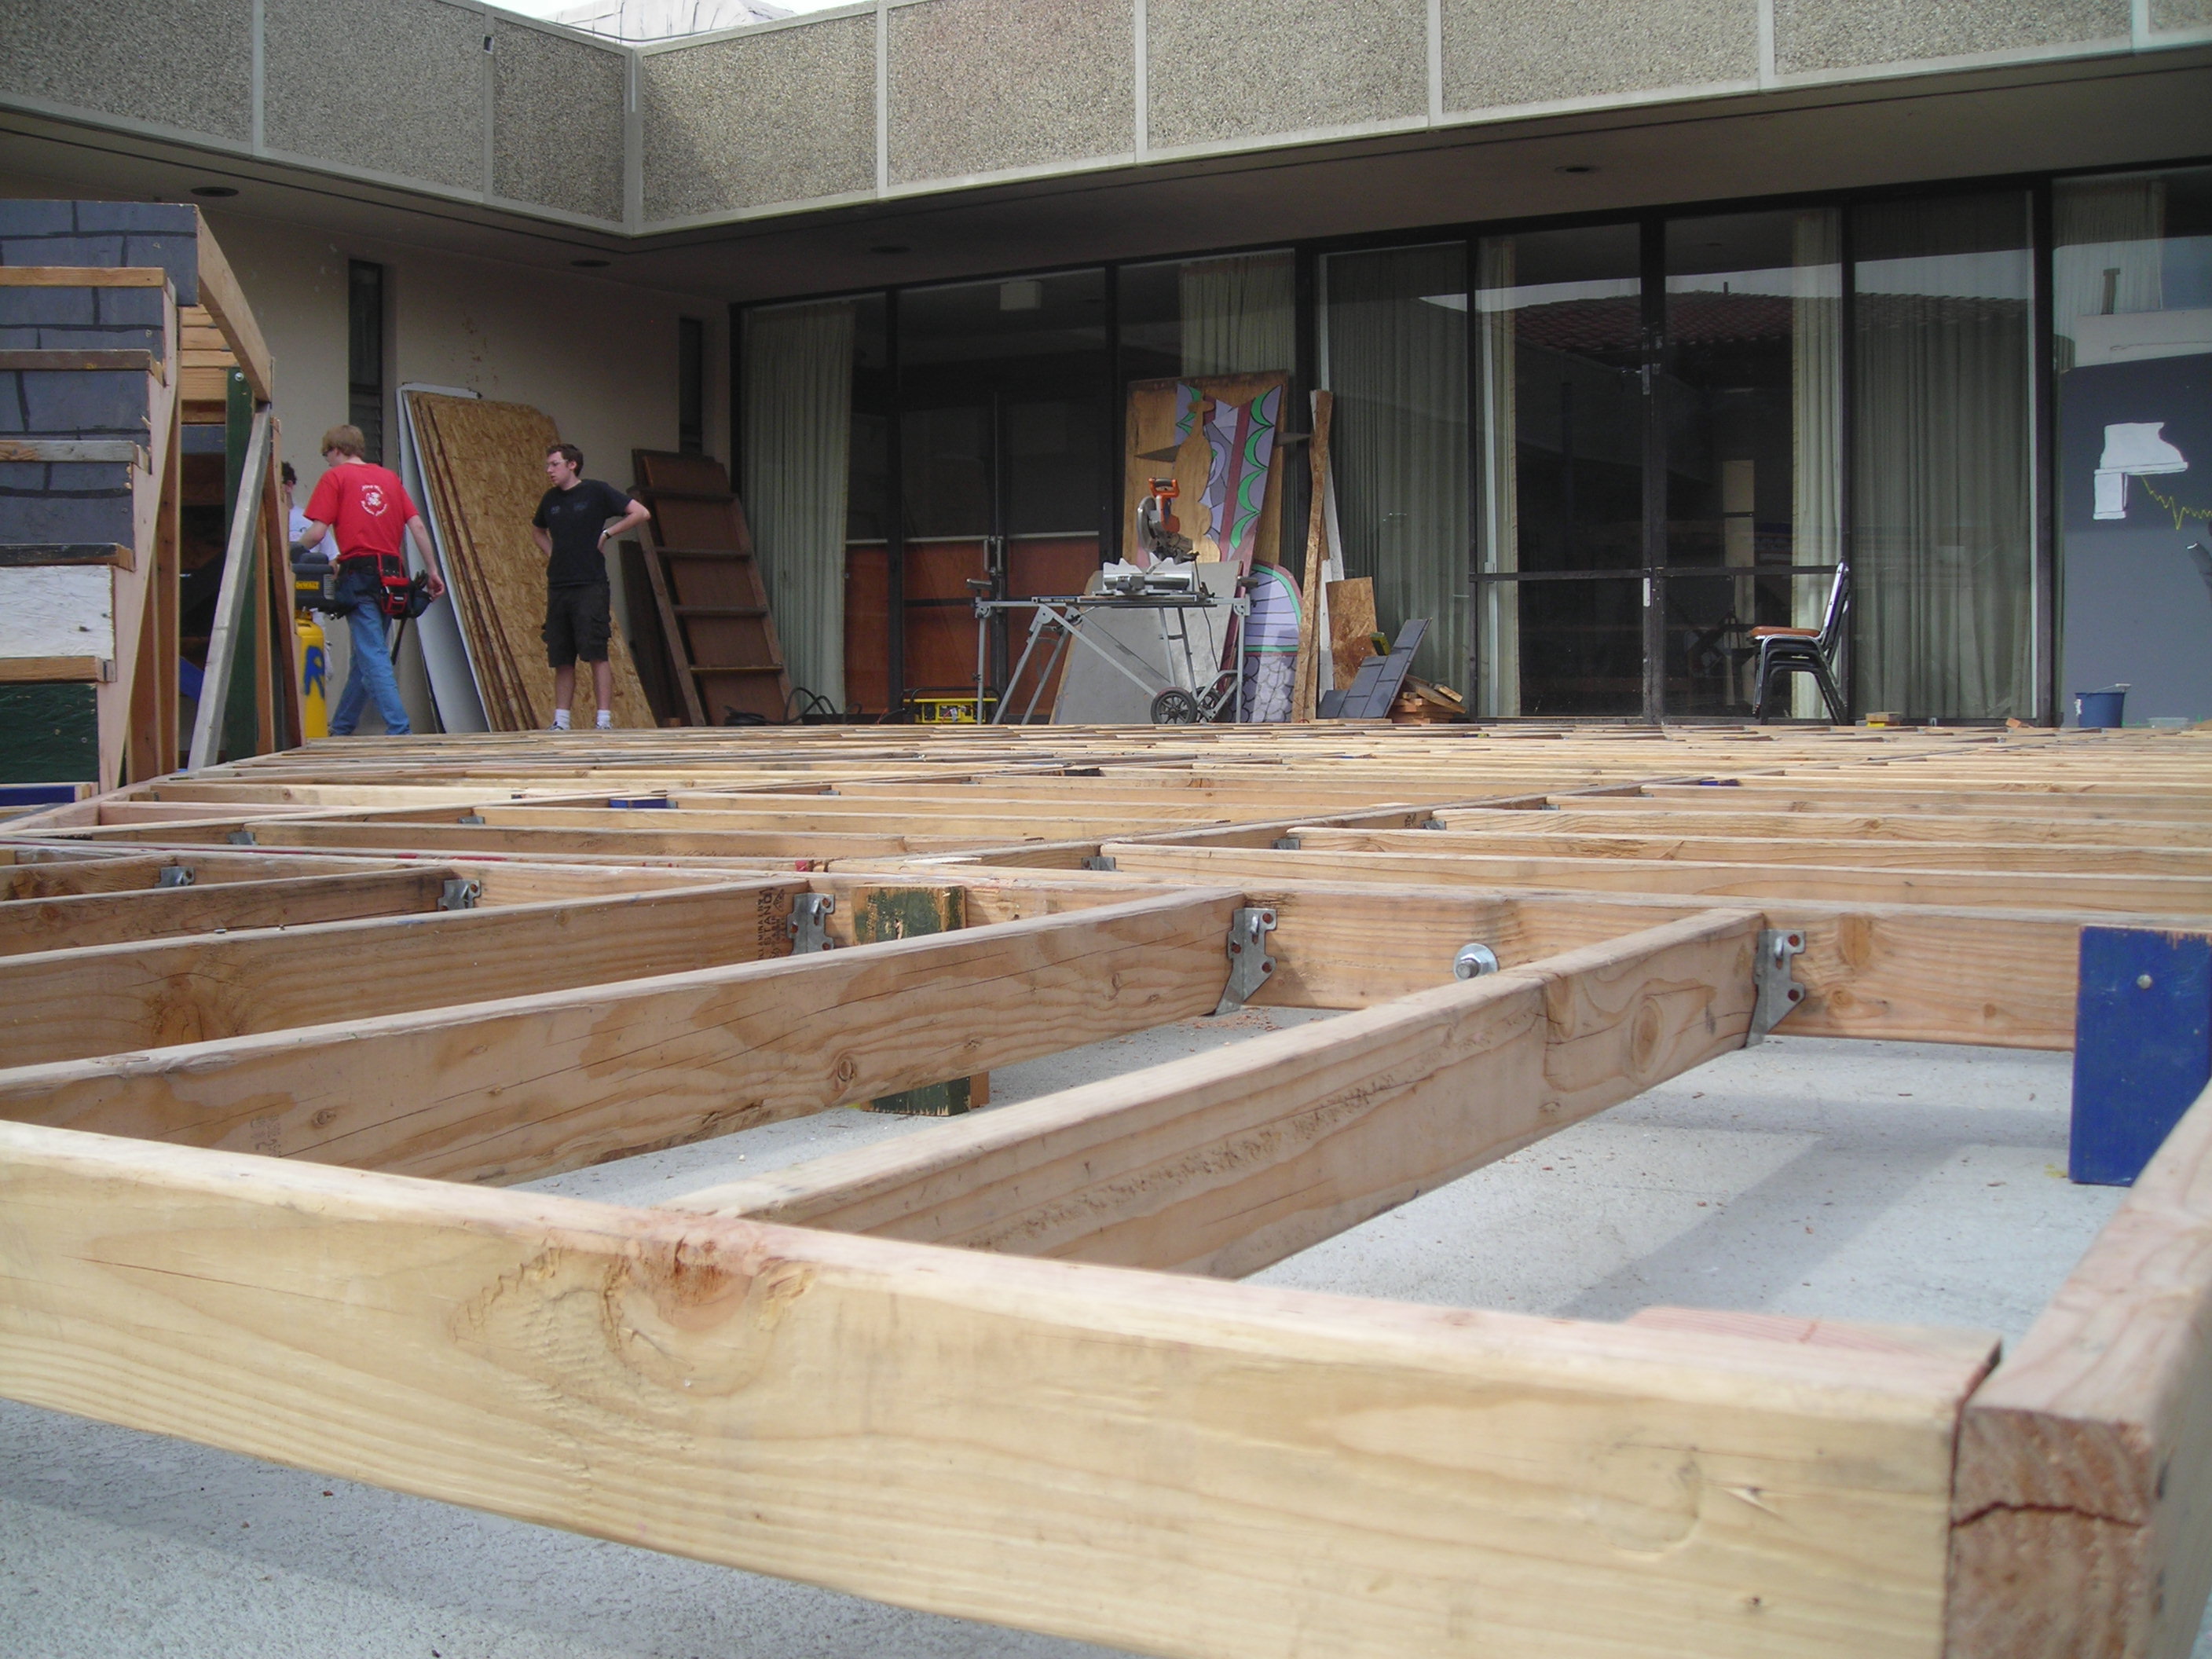
These dance floor platforms are the heart of the party. Each is an 8′
x 4′ rectangle built out of 5.5 2x4s (this is standard lumber for construction;
it’s a plank that’s 1.5" by 3.5" on the edge and comes in different
lengths. We tend to buy 8 foot 2x4s and cut them down to whatever size we
need). We can attach these platforms to each other by drilling holes in
the sides and attaching carriage bolts. This way, we can make a grid of
platforms that spans most of the courtyard. Afterwards, we cover them
with OSB (oriented strand board, similar to plywood), paint it, and the dance
floor is done!

Well, that’s not the whole story. We need to first determine the
highest point of the courtyard that the dance floor will cover, place a
platform there, and level it. This means we have a few people around the
platform to hold it in place and level, with 3 corners in the air, while
someone cuts a short piece of wood and nails it into each corner. Once
there are "legs" in all the corners, we cut "feet" to go
under the platform itself and support the weight. This way, the platform
is both level and stable, and won’t move around when you jump on it.
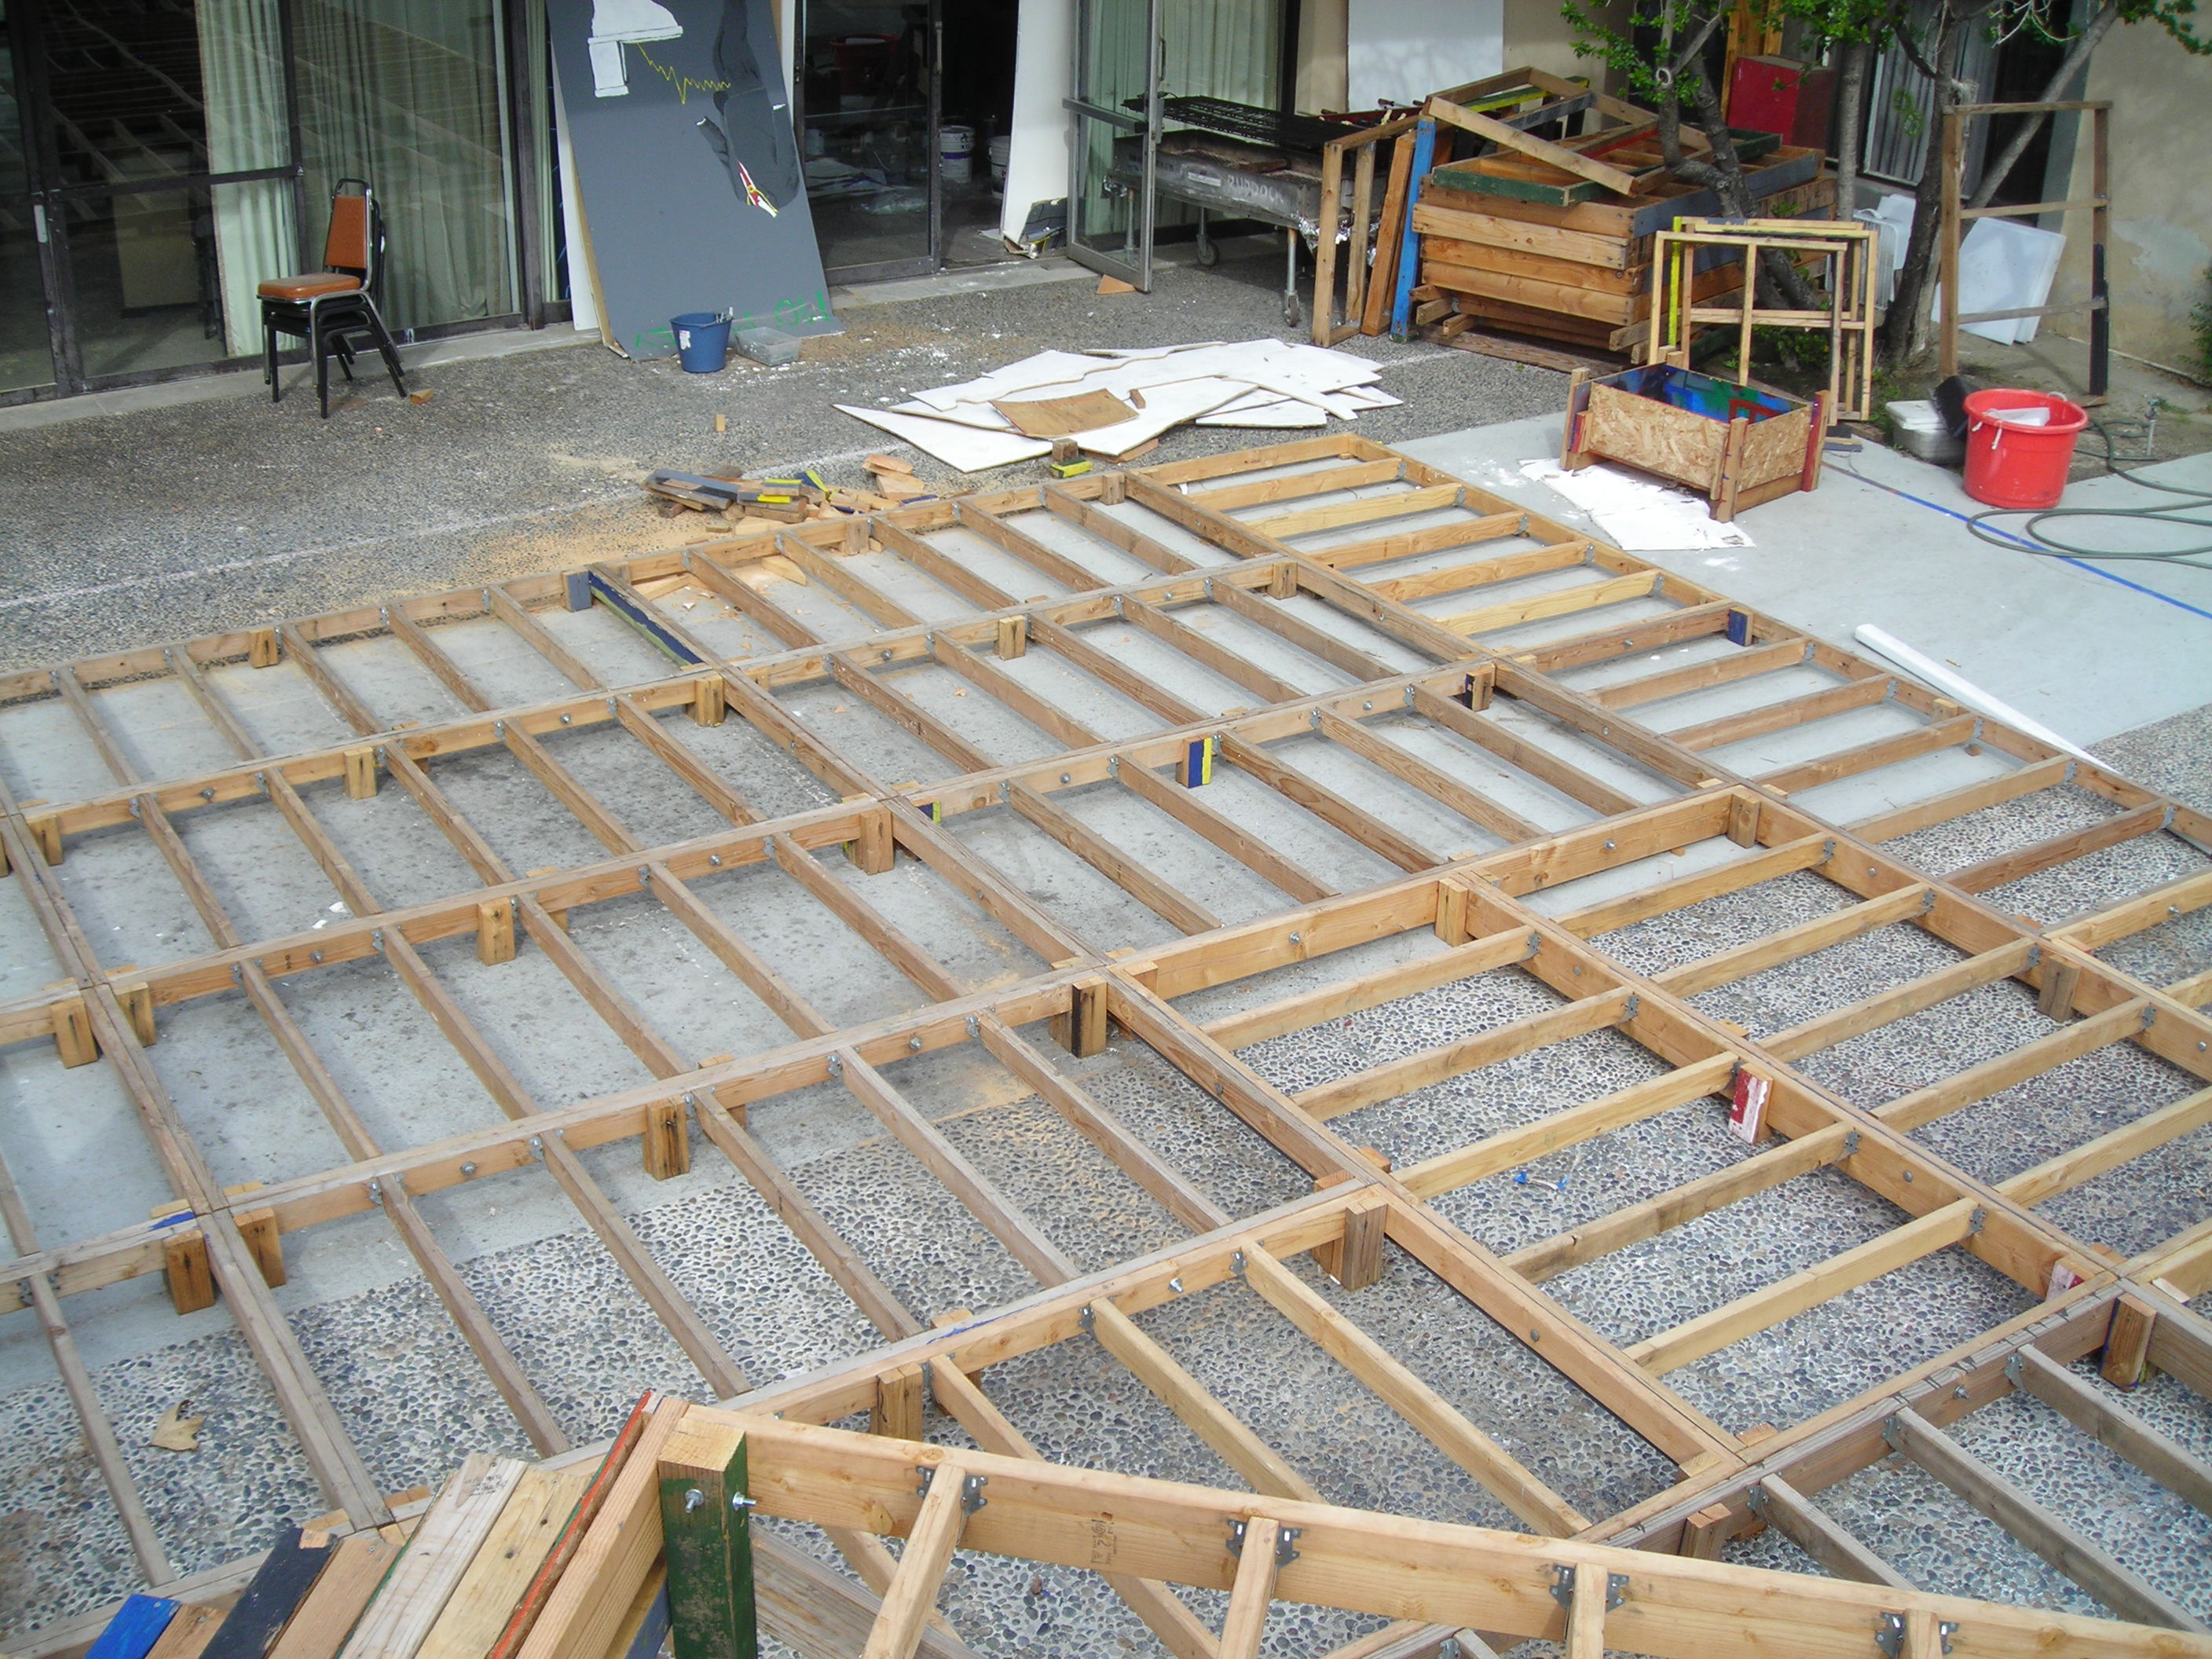
Starting at our reference high point in once corner, we attach platforms to the
previous ones by bolting them in and making sure they’re level and flush; other
than the first one, no part of the dance floor actually touches the
ground. The custom-cut feet support everything. This process is
long and tedious, because we have to go from one corner of the courtyard to the
other, cutting wood and hammering it in, over and over again. But once
it’s done, we have a level plane across the whole courtyard, which you see here!
On Saturday we finished up the dance floor, which meant it was time for the
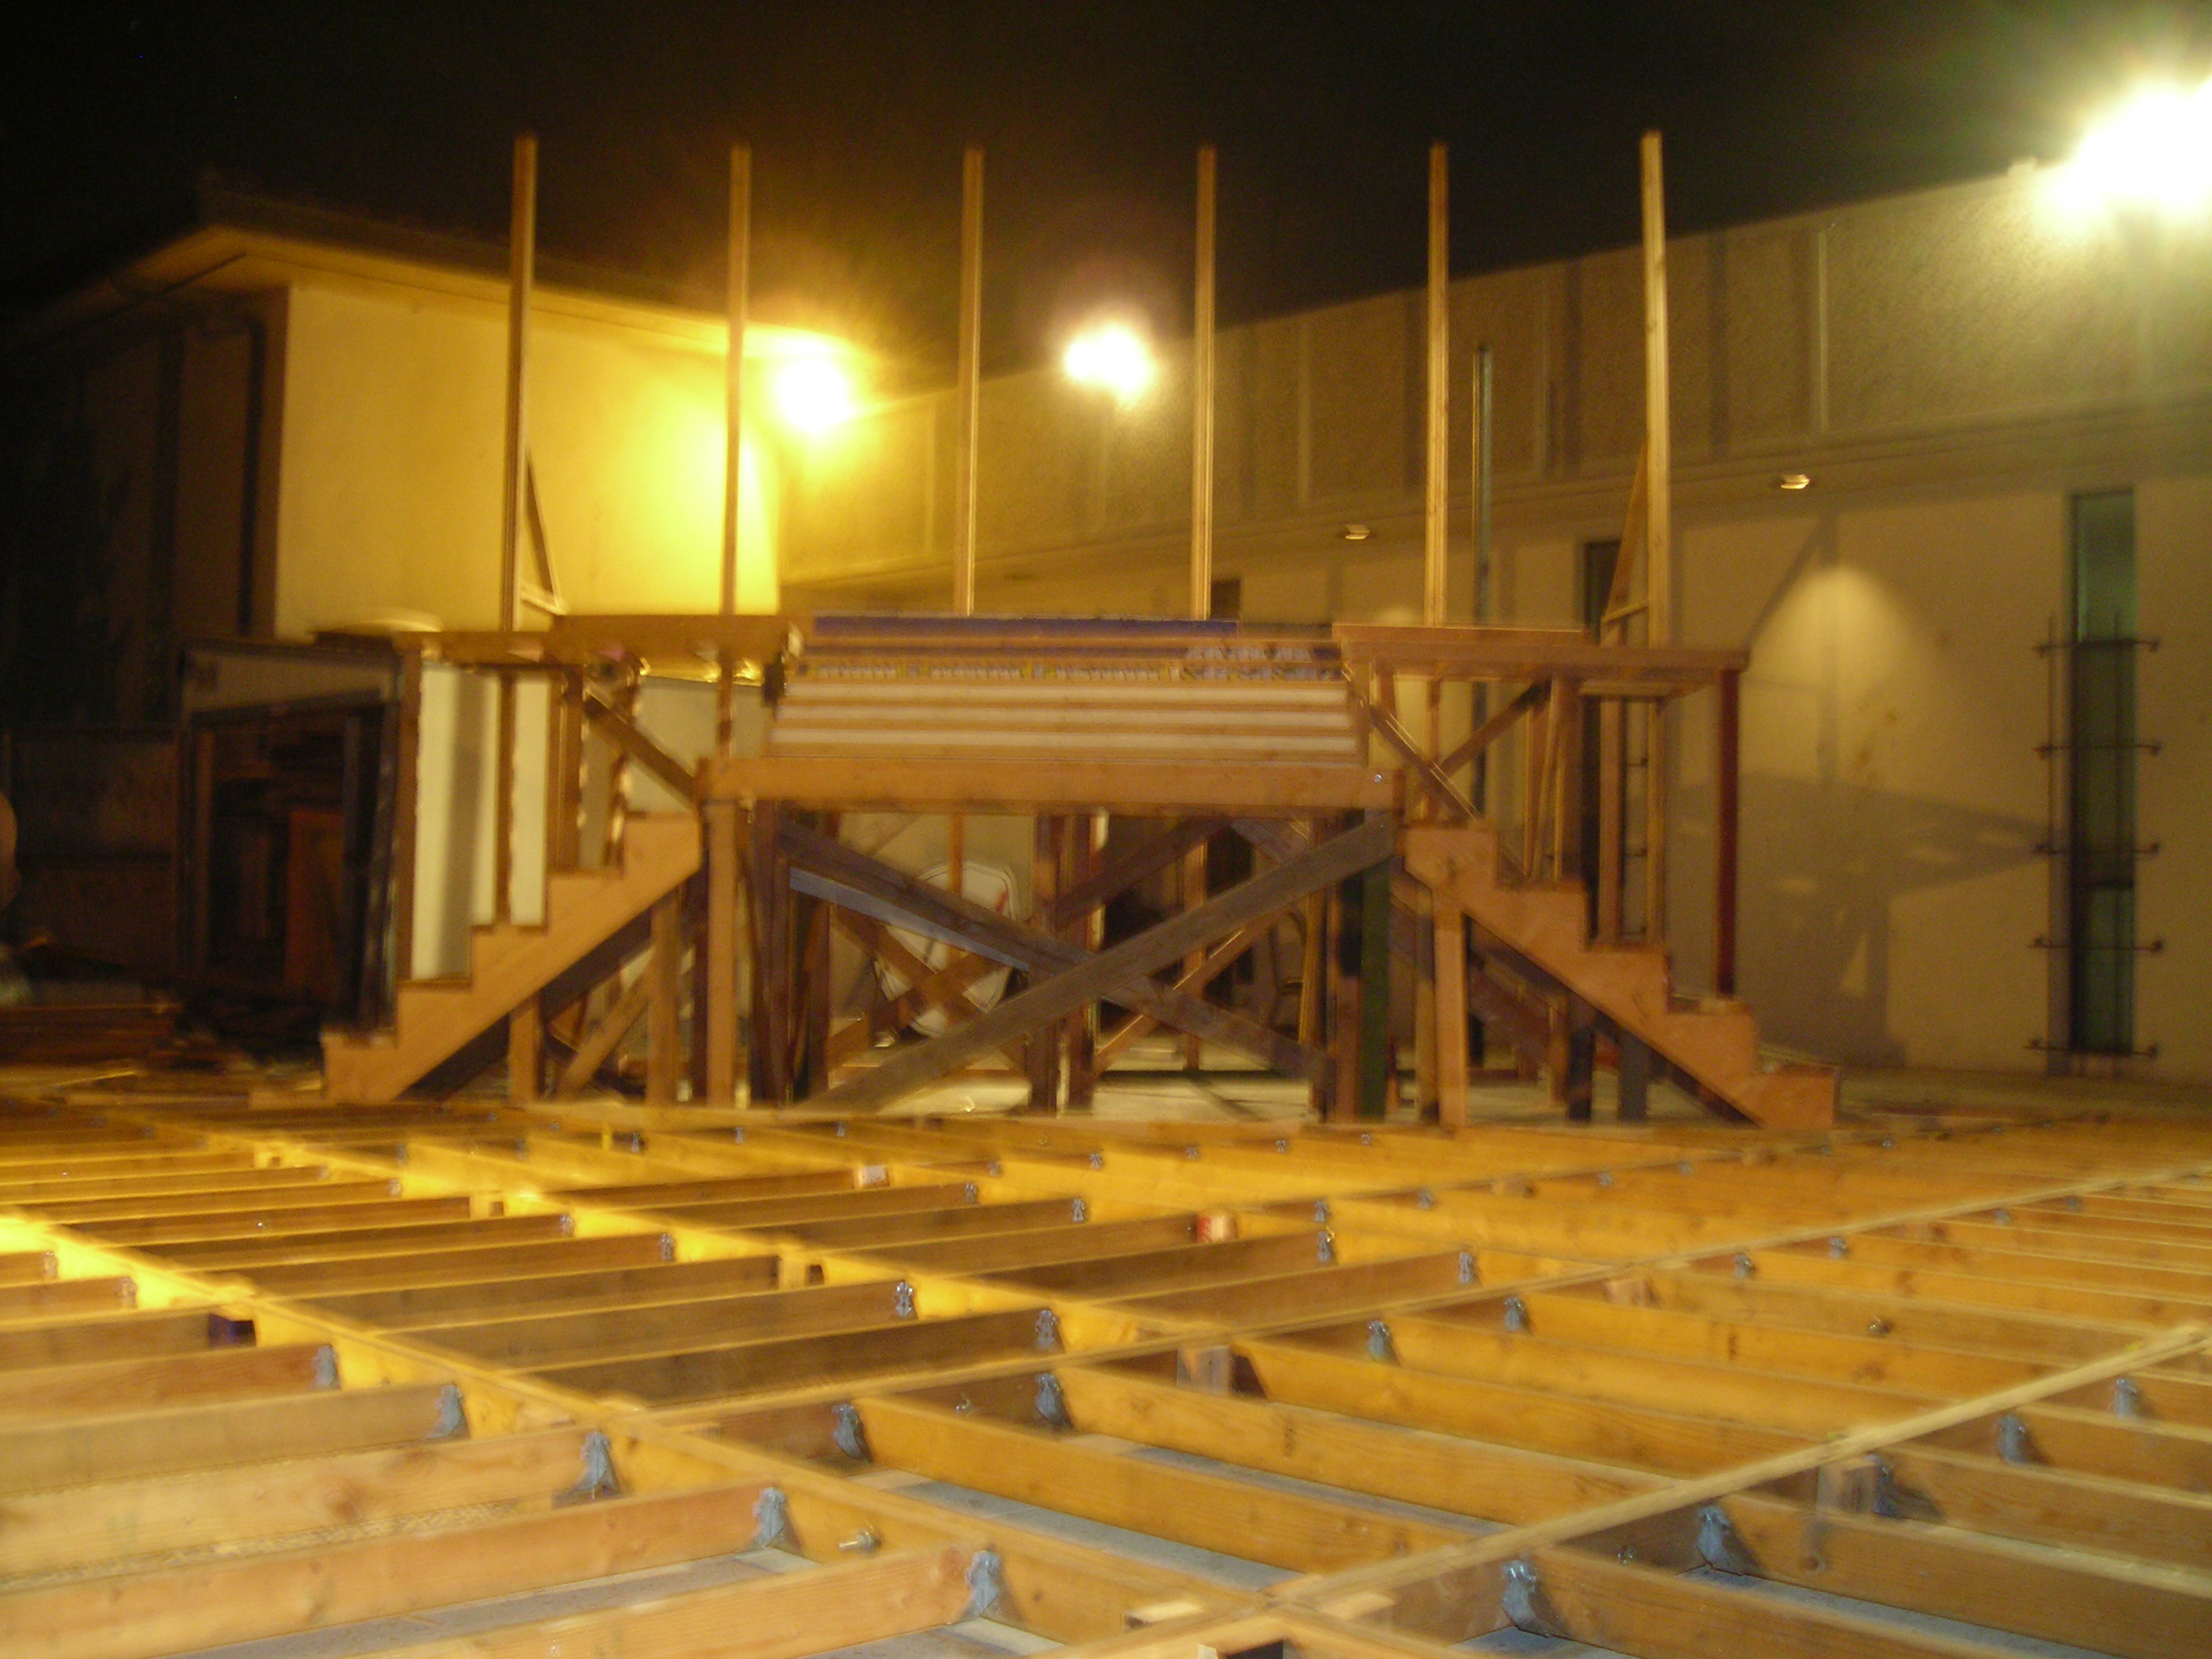
interesting construction to start. Over the last several weeks, we’ve put
up a few elevated platforms to make the temple. They’re built similarly
to normal platforms, but use larger pieces of wood and are supported by thicker
beams. We’ve got one at 4 feet, surrounded by two staircases ending up on
the dance floor, and that’s connected by an 8 foot wide staircase to two more
platforms at 8 feet. Today we finished attaching all the stairs and
platforms to each other, so we have the flooring for the entire party
complete! Now it’s time to make things look good…
Here’s a view of everything we’ve got up so far.
Next post: Construction is only half of OPI. See how much work Art has
to put in!

